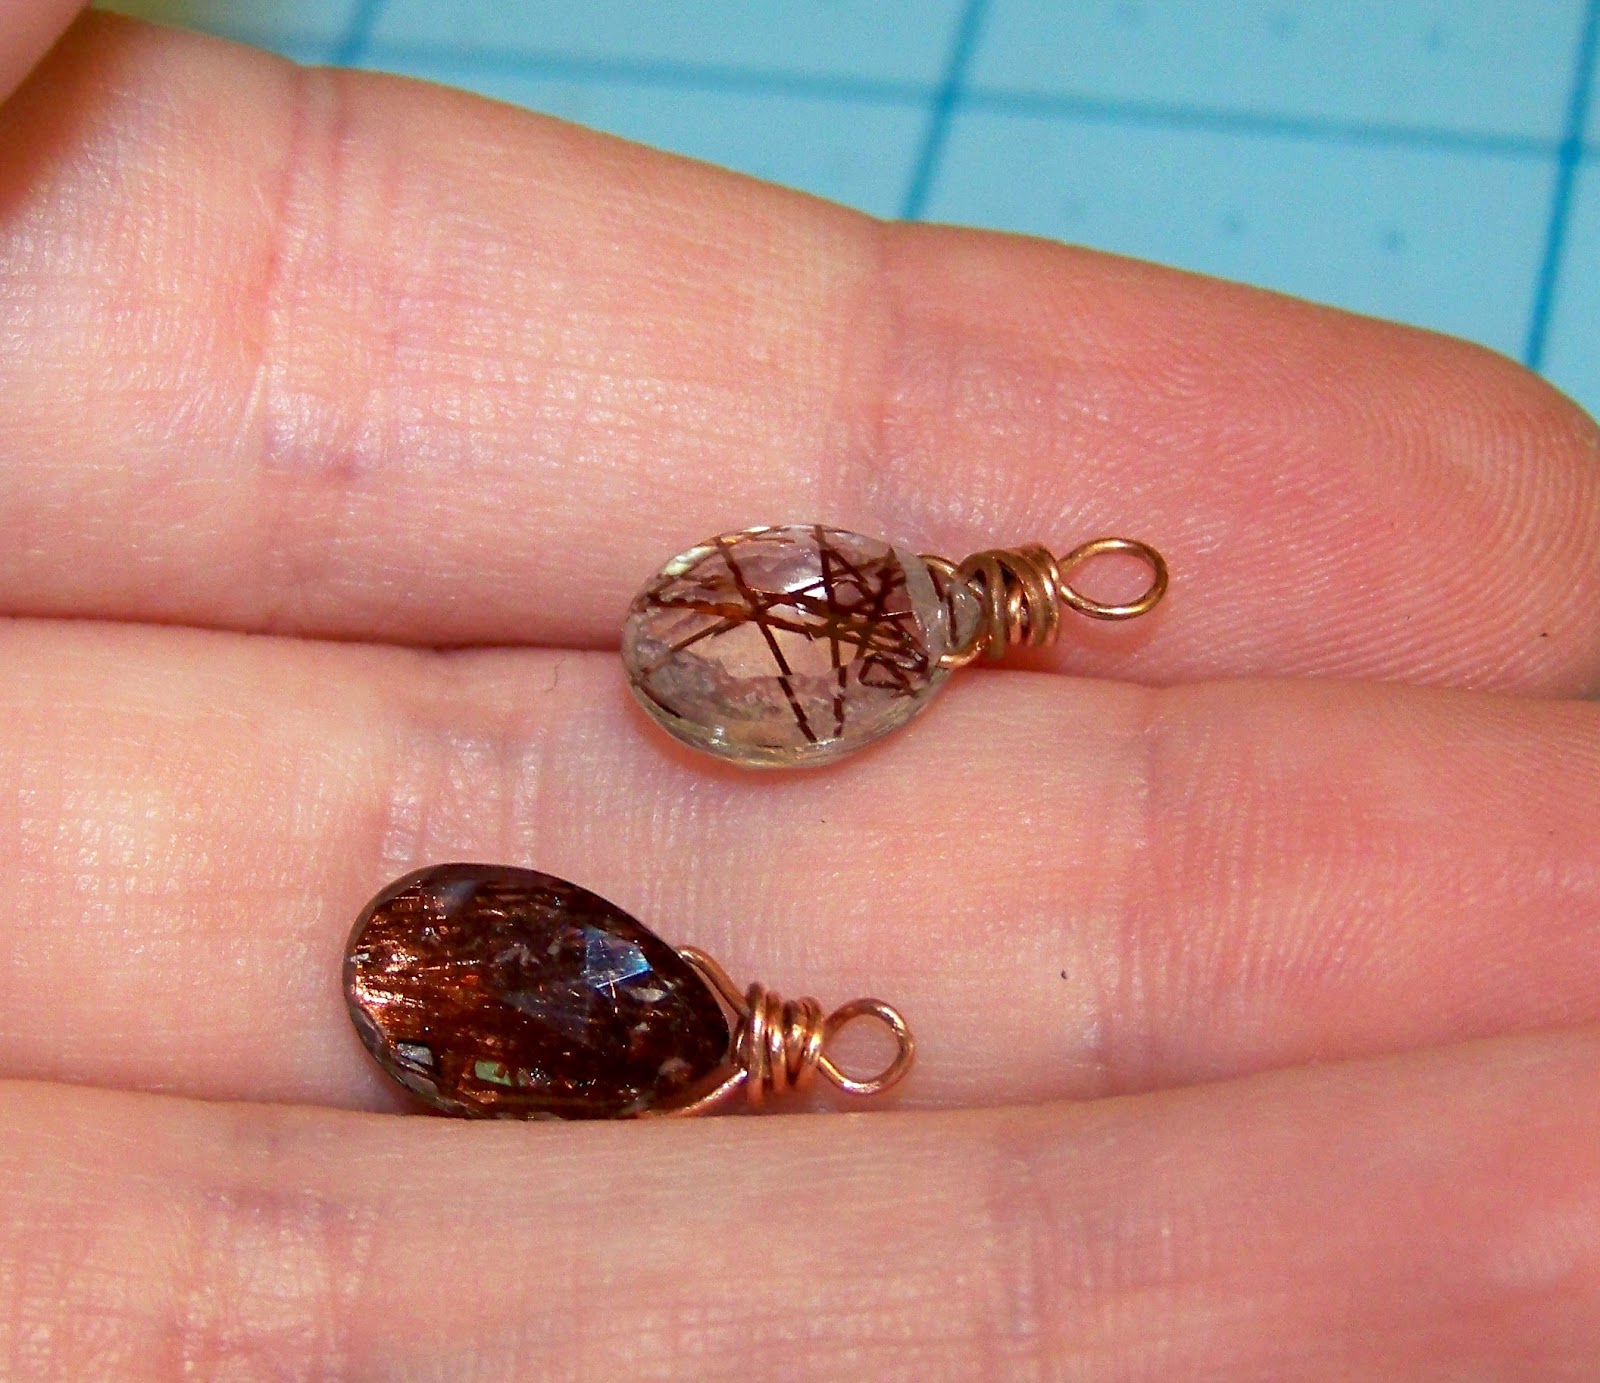
I received my pair of copper rutilated quartz, faceted pear briolettes that I ordered from the Lyramare Rocks Etsy shop on Saturday and couldn't wait to use them to make a necklace.

Aren't they pretty?
First I gathered all of the pieces I thought I was going to need.

The purple handled pair of pliers are rounded and they make creating loops a breeze.
The rest of the ingredients, as it were, consist of two junk necklaces that I had lying around that had similar looking chains and a piece of copper wire. I used copper wire because bending and cutting the copper wire was pretty malleable and made it easy to work with.
I was going to use the larger link chain as jump rings to attach the briolettes to the necklace, but the links were too large to fit into the smaller necklace chain links, so I had to find some smaller jump rings that would do the job. I also had to borrow a pair of wire side cutters to cut the copper wire.
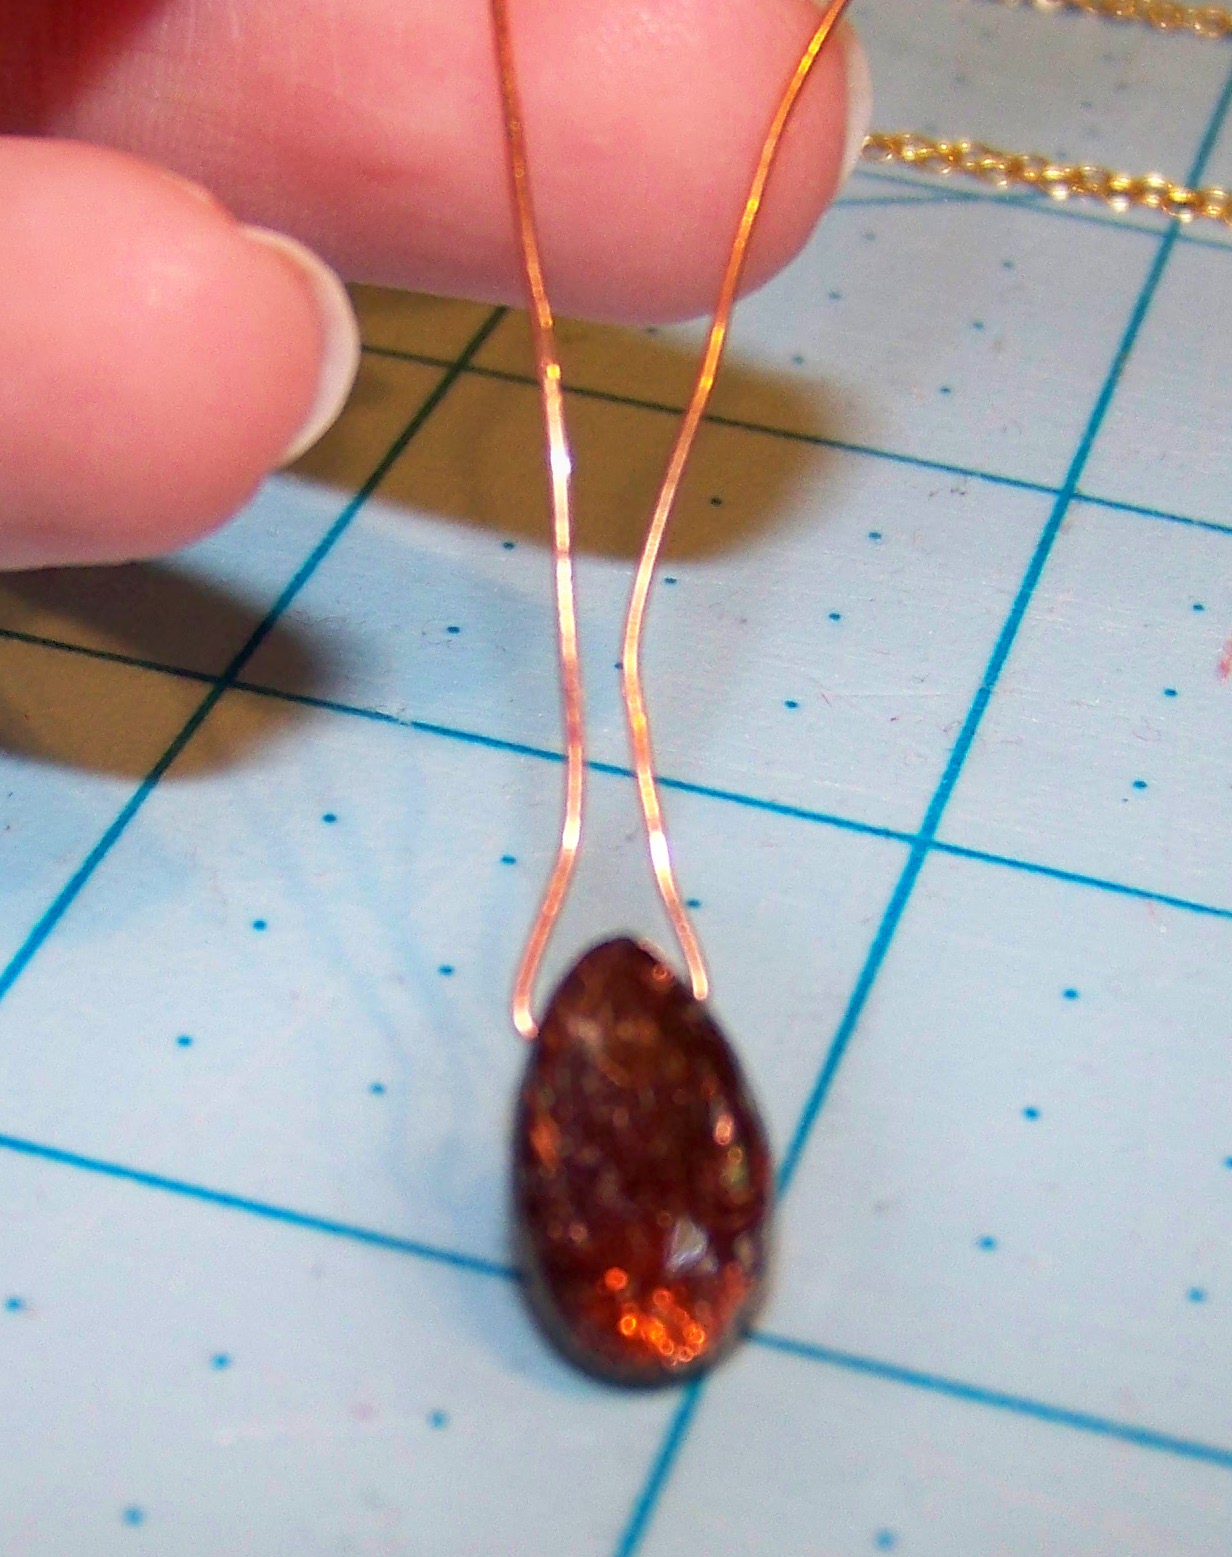
I started by working the copper wire through the already drilled holes in the briolette. Then I bent the wire upwards on both sides. You can't tell from the picture, but I left about 2 to 3 inches of excess wire on either side of the briolette. I wanted to make sure that I had enough to wrap around and create a loop.

Then I crossed the wires (it probably doesn't matter which side you cross the wires on) and I used the rounded pliers to create a small loop using one of the wires.

This photo is a little blurry, but I continued bending the wire that I created the loop with and I brought it around the part where I crossed the two wire ends originally.

This is now the back side of the briolette. I basically continued bending the loop wire around the crossed part and brought it back towards the back side. Then I used the wire side cutter to cut the copper wire so that I was left with a little tail that I could bend and kind of hide.

Here I began using the remaining wire to wrap it around the loop and hide the little tail that I cut in the previous picture.

Just continue wrapping the wire around until you are satisfied that the loop wire is hidden.

I don't necessarily like the look of too much wrapped wire, so I used the wire side cutter again to cut the wire. Here I used the same concept as I did with the loop wire and I bent the remaining tail and kind of tucked it up under the wrapped part to hide it. My goal was mostly to hide the sharp tail and make it look as clean as possible.

Now I took one of the junk necklaces apart so that I could use it to attach the briolettes to the other junk necklace. I saved the little jump rings from the clasp parts so that I could use them to attach the briolettes to the small chain links of this junk necklace.

Here you can see the general look I am going for. I have cut enough chain from the junk necklace in the previous picture and I will use the small jump rings that I saved from that necklace to attach the briolettes to the smaller piece of chain. I was going to use the large jump ring in this picture to attach the briolette chain part to the other necklace, but I was afraid that it would allow the briolettes to move back and forth like some kind of see saw, so I found a smaller jump ring that would fit through the small links on the two necklace pieces and I attached it that way.

Here is a picture of the briolettes attached to the smaller piece of chain with the jump rings that I saved from the junk necklace that I cut.

Here is the finished necklace.

And here I am wearing the finished necklace. I really like it and it falls just right. Not a bad way to recycle some of your old junky jewelry that you might have lying around.
I hope you enjoyed my little tutorial.
Thanks.


No comments:
Post a Comment